DIY Chalkboard Paint Jars: Elevate Your Pantry Organization with Style
Transforming your kitchen pantry into a haven of organization doesn’t have to be a daunting task. With a simple DIY chalkboard paint project, you can turn ordinary glass jars into beautiful, functional storage containers that not only keep your pantry tidy but also add a charming, rustic touch to your kitchen decor. Imagine pasta, beans, baking supplies, and various grains neatly stored, easily identifiable, and contributing to a cohesive aesthetic. This project is a game-changer for anyone looking to combine practicality with personalized style in their home.
My passion for organization often borders on obsession – a well-ordered space brings a profound sense of calm and efficiency to daily life. While my desk might occasionally resemble a paper hurricane, the rest of my home, especially the kitchen, is a testament to my love for containers and clever storage solutions. The thrill of finding the perfect bin or basket, or even a simple tote bag, is a small joy I embrace, and a trip to a store like Ikea can genuinely make my heart race with possibilities.

The Inspiration: Functional Beauty for Your Pantry
Several years ago, I stumbled upon an incredible deal at Dollar General: high-quality quart and half-gallon glass jars priced at just $1.50 and $2 each, respectively. Recognizing their potential, I stocked up, bringing home a collection that would soon become indispensable for storing everything from rice and dried beans to various types of pasta and other bulk goods. These jars offered both aesthetic appeal and practical benefits, freeing up valuable pantry shelf space and allowing me to easily see what I had on hand.
Beyond the visual appeal and space optimization, these glass jars proved to be a necessity when we lived in the countryside. They provided an impenetrable barrier against unwanted pantry pests, especially mice, which are notorious for making quick work of food stored in flimsy bags or cardboard boxes. Knowing my food was securely stored brought immense peace of mind. However, over time, a minor challenge emerged: differentiating between similar-looking ingredients, such as various types of rice or different kinds of beans, without opening each jar for a close inspection. That’s when the idea of adding labels sparked a new DIY adventure.
Rediscovering Chalkboard Paint: A Simple Solution
My mind immediately went to the chalkboard paint I had used years prior to create a fun, interactive wall in my daughters’ bedroom. I wasn’t entirely sure if it would adhere effectively to glass, but a quick search on Pinterest revealed numerous successful projects using chalkboard paint on glass surfaces. This gave me the confidence to try it, and indeed, it worked beautifully!
The entire process of transforming these jars is surprisingly straightforward, with the actual hands-on work being quite minimal. However, the total project time spans several hours, primarily due to the need for multiple coats of paint and adequate drying time between each application. Patience is key to achieving a durable and professional-looking finish. To manage this, I set up a dedicated painting station on my kitchen table, allowing me to work on the jars intermittently throughout the day as other tasks called for my attention.
Materials You’ll Need
- Glass Jars or Containers: Quart, half-gallon, or any size suitable for your pantry items.
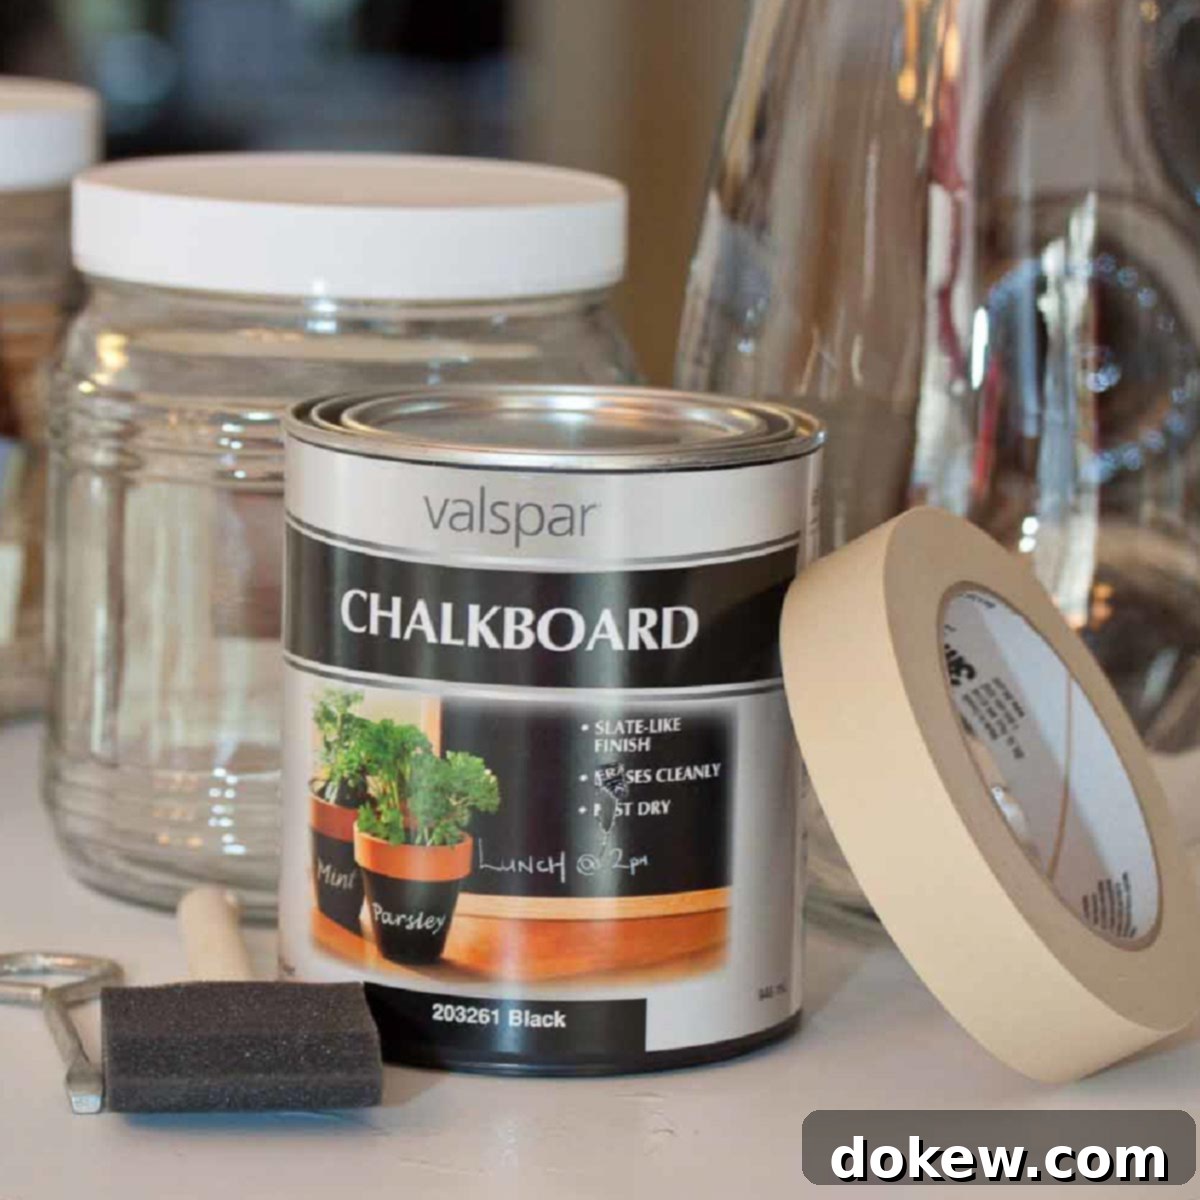
- Chalkboard Paint: Available at most craft or hardware stores. Consider a brush-on formula for precise application.
- Painter’s Tape (Optional): For creating crisp, defined lines for your labels.
- Paint Brushes: Smaller brushes for detail work.
- Chalkboard Markers: (Highly recommended!) For clear, vibrant, and smudge-proof labeling.
- Drop Cloth or Newspaper: To protect your work surface.
- Rubbing Alcohol or Glass Cleaner: For preparing the glass surface.
Step-by-Step Guide to Chalkboard Paint Jars
1. Prepare Your Jars
Before painting, ensure your glass jars are immaculately clean and dry. Wash them thoroughly with soap and water, then wipe them down with rubbing alcohol or a glass cleaner. This step removes any grease or residue that could prevent the paint from adhering properly, ensuring a smooth and lasting finish.
2. Define Your Labeling Area (Optional)
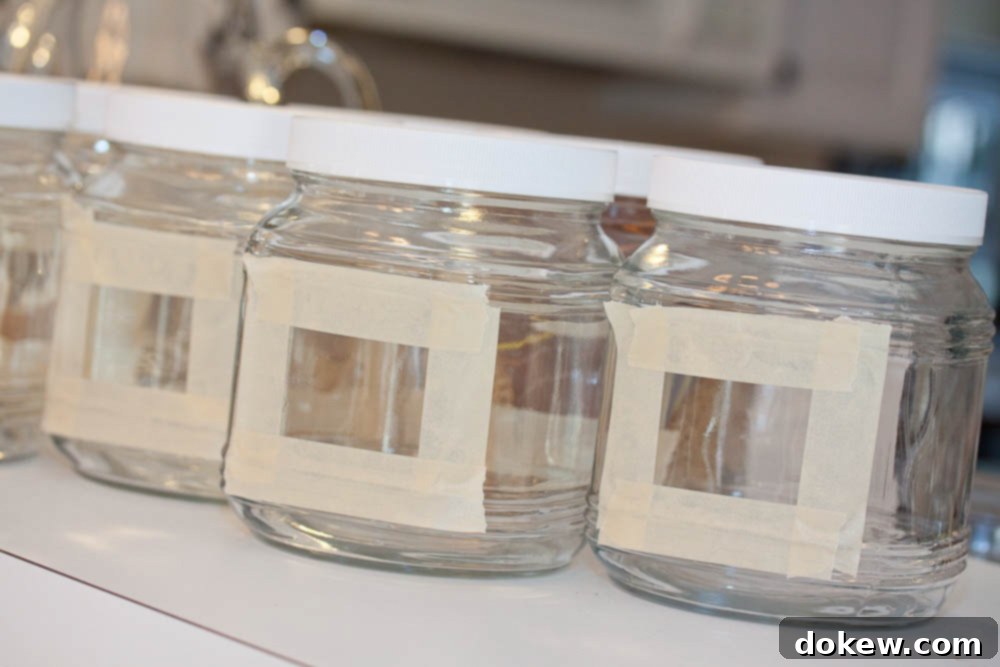
If you desire perfectly straight and uniform labels, this is where painter’s tape comes in handy. Carefully tape off a rectangle or square on each jar where you want your chalkboard label to appear. For a batch of 15-20 jars and a couple of pitchers, this initial taping process took me about 30 minutes. Make sure the tape is pressed down firmly to prevent any paint bleed.

For subsequent projects, I found myself embracing a more relaxed, freehand approach. Simply painting a rectangle without the tape saved a significant amount of time and still yielded a charming, rustic look that I found perfectly acceptable. Don’t be afraid to experiment to find what works best for your style and time constraints!
3. Apply the Chalkboard Paint
Once your jars are prepped and taped (if using), it’s time to paint. Stir your chalkboard paint well before use. Apply thin, even coats of paint within your taped-off areas or freehand rectangles. Each coat took me about 15 minutes to apply across all the jars. Remember, thin coats are better than one thick coat, as thick coats can lead to drips and uneven drying. I found that three coats were necessary to achieve the desired opacity and a rich, deep black finish that truly resembled a classic chalkboard.
4. Allow for Ample Drying Time Between Coats
This is arguably the most crucial step for durability. After each coat, allow the paint to dry completely. For chalkboard paint, this typically means waiting at least 1-2 hours between coats, or until the paint is dry to the touch. I used these drying intervals to tackle other chores or simply relax, making the entire project feel less intensive. Rushing this step can lead to peeling or an uneven finish.
5. Remove Tape & Cure the Paint
After applying the final coat and allowing it to dry for several hours (I usually waited 4-6 hours), carefully peel off the painter’s tape. Peel slowly and at an angle to ensure crisp lines and prevent lifting the paint. Once the tape is removed, it’s essential to let the paint cure. For chalkboard paint, a full cure often takes 24-72 hours. I typically let my jars dry overnight, or even a full 24 hours, before attempting to write on them for the first time. This curing process hardens the paint and makes it more resistant to scratching and wear, ensuring your labels last.
Chalkboard Markers: A Labeling Game Changer
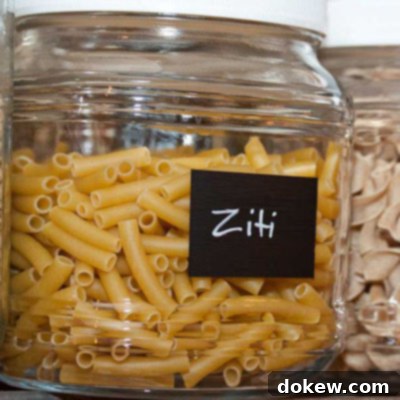
Gone are the days of dusty, smudged chalk! I recently discovered the magic of chalkboard markers, and I honestly can’t imagine going back to traditional chalk. These markers write with the precision and ease of a regular marker, but once dry, they create a crisp, opaque, and beautiful chalk-like appearance, much like the sophisticated menus you see in trendy coffee shops and gourmet grocery stores. They don’t smudge once dry, making them perfect for pantry labels that need to withstand daily handling. Plus, they wipe clean with a damp cloth, allowing for easy updates and changes.
I use these versatile markers not only to clearly label the contents of each jar, but also for practical culinary information. For example, on rice jars, I’ll jot down the ideal rice-to-water proportion and approximate cooking time. For beans, I might include soaking instructions or typical cooking duration. This small addition makes meal prep incredibly efficient, eliminating the need to search for recipes or cooking guides every time I reach for an ingredient.

Why Choose DIY Chalkboard Jars?
- Customization: You choose the size, shape, and placement of your labels, tailoring them perfectly to your pantry’s needs and your personal style.
- Aesthetics: The uniform look of labeled jars brings a cohesive and aesthetically pleasing element to your pantry, transforming it from a storage space into a stylish part of your kitchen.
- Cost-Effective: Creating these labels yourself is far more economical than purchasing pre-labeled or specialty storage containers.
- Functionality: Beyond good looks, the ability to easily label and re-label means you always know what you have, reducing food waste and making grocery lists simpler.
- Pest Control: Airtight glass jars are excellent for keeping pantry pests out, protecting your dry goods.
- Eco-Friendly: Reusing glass jars reduces waste and promotes sustainable living.
Tips for Achieving Perfect Chalkboard Labels
- Work in a Well-Ventilated Area: Chalkboard paint can have a strong odor, so ensure good airflow.
- Primer (Optional but Recommended): For glass, a light coat of glass-specific primer can improve paint adhesion and durability, though I found success without it.
- Smooth Strokes: Use a high-quality brush and smooth, even strokes to avoid streaks or brush marks.
- “Seasoning” Your Chalkboard: Once the paint is fully cured, gently rub the side of a piece of regular chalk over the entire painted area, then wipe it off with a dry cloth. This “seasons” the surface, making it easier to write on and erase in the future, whether you use traditional chalk or markers.
- Cleaning: To clean your chalkboard labels, simply wipe them with a damp cloth. For stubborn marker residue, a magic eraser or a specialized chalkboard cleaner can be effective.
Beyond the Pantry: More Creative Chalkboard Paint Ideas
The versatility of chalkboard paint extends far beyond pantry organization. Once you start, you’ll find countless ways to incorporate this fun and functional medium into your home decor and daily life. Here are some inspiring ideas to spark your creativity:
- Write-on Wine Glasses: Create personalized drink markers for parties. Guests can write their names or fun messages, eliminating confusion and adding a unique touch to your entertaining.
- Globe Message Board: Repurpose an old globe into a captivating message center. Paint sections with chalkboard paint to jot down travel dreams, notes, or inspirational quotes, turning it into a dynamic piece of decor.
- Entryway Message Center: Design a functional and stylish command center in your entryway. A chalkboard painted section can be perfect for leaving notes, reminders, or grocery lists, making sure important messages are seen as you come and go. I absolutely adore this idea and wish I had the space for it in my own home!
- Chalkboard Easel from an Old Crib: Give a discarded crib new life by transforming it into a charming chalkboard easel. It’s a fantastic upcycling project for a child’s playroom or even a whimsical art display in a creative space.
- Chalkboard Frames: Paint the glass insert or even the frame itself of old picture frames with chalkboard paint. These can be used for rotating quotes, temporary signs, or even as elegant place cards for special occasions.
- Chalkboard Placemats: Craft unique, interactive placemats for your dining table. Guests can draw, write notes, or indicate dietary preferences, making mealtimes more engaging and personalized.
- Chalkboard Table Runner for Labeling a Buffet: For entertaining, a chalkboard painted table runner is a brilliant way to label dishes on a buffet. It adds a professional touch and makes it easy for guests to identify food items, especially useful for those with allergies or dietary restrictions.
Do you have a clever or unique idea for using chalkboard paint in your home? We’d love to hear about your projects and creative solutions! Share your inspiration with us and help others discover new ways to personalize and organize their spaces.
