Classic Homemade Apple Pie: The Ultimate Recipe for a Flaky, Buttery Dessert

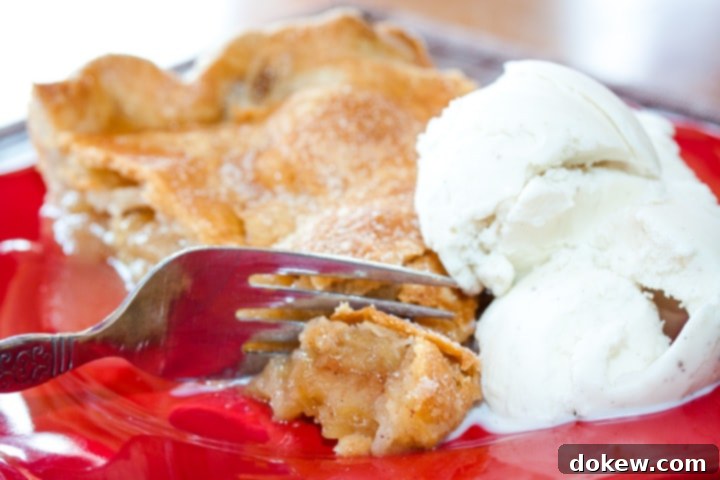
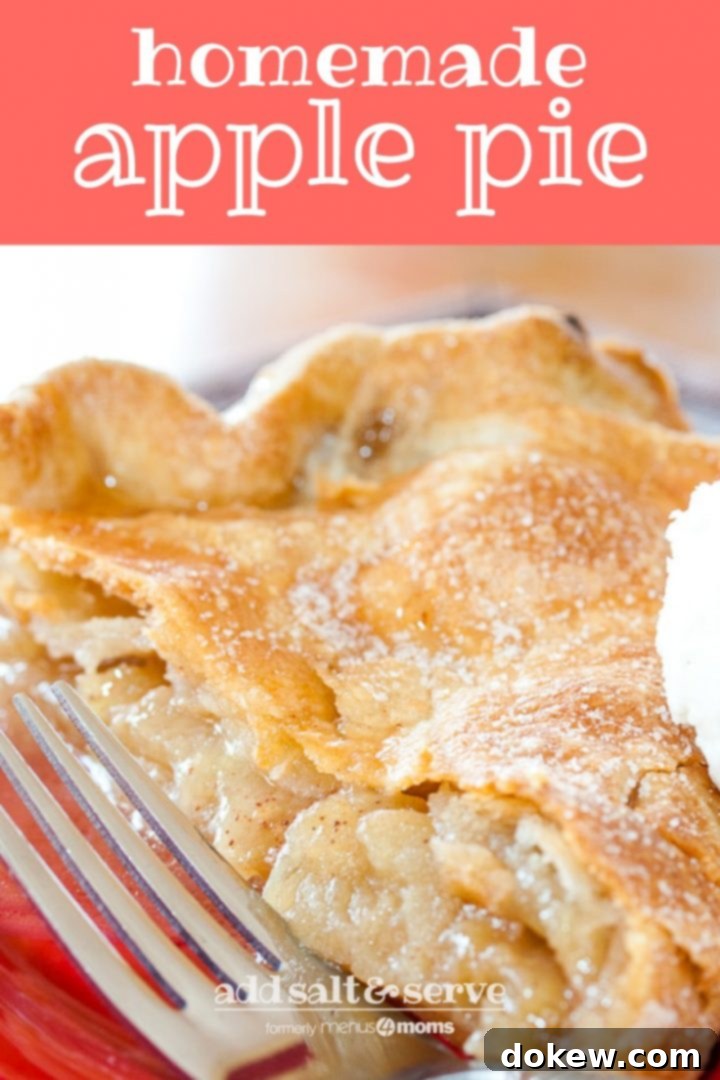
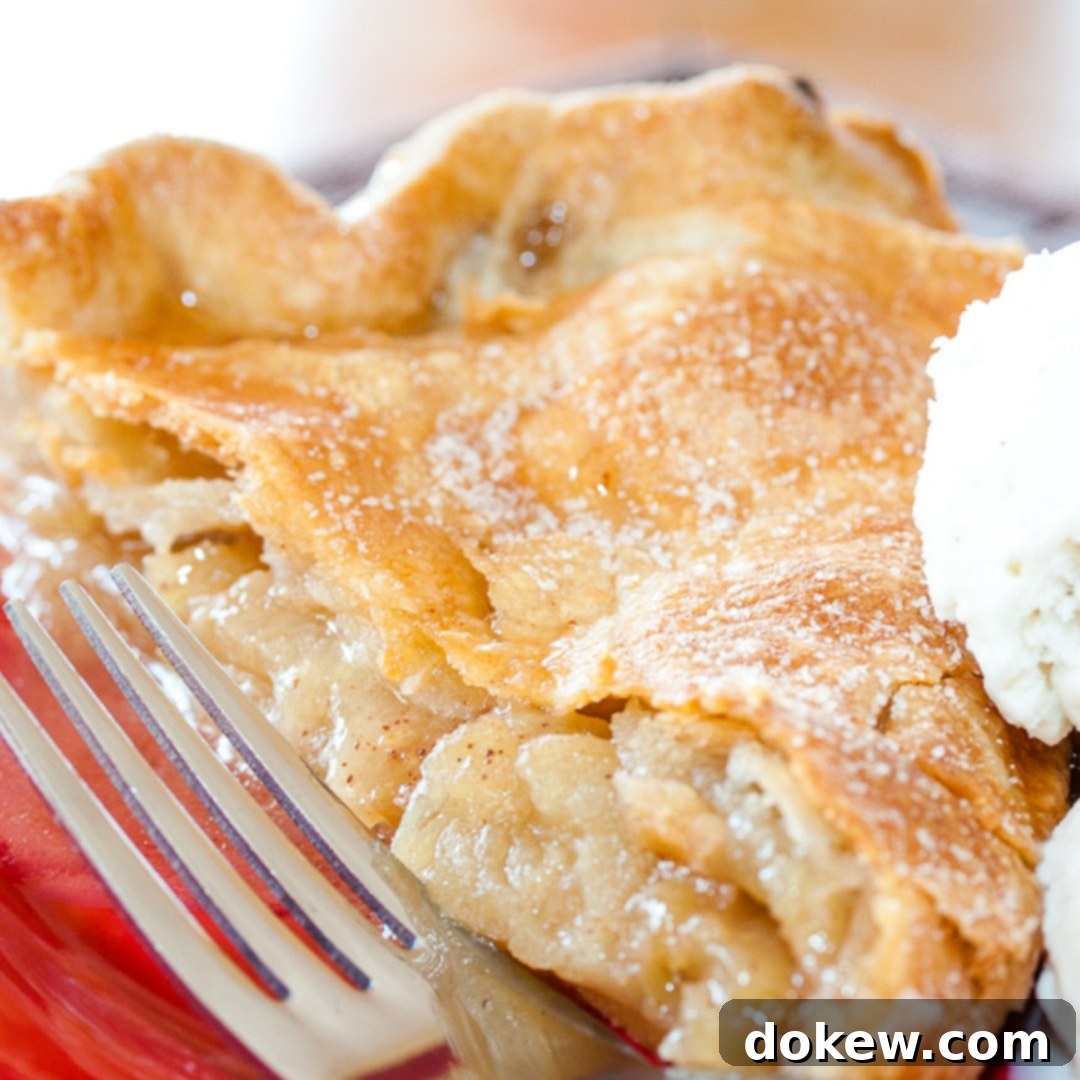
There are few desserts as universally beloved and comforting as a classic homemade apple pie. Its golden, flaky crust, generously filled with tender, spiced apples, evokes a sense of nostalgia and warmth that transcends seasons. While undeniably perfect for welcoming the crisp air of autumn, this iconic dessert is a crowd-pleaser year-round, bringing joy and a delightful aroma to any gathering. Whether served warm with a scoop of melting vanilla ice cream or enjoyed chilled the next day, a slice of this buttery goodness is pure bliss.
The Irresistible Allure of Homemade Apple Pie
In a world of quick fixes and convenient store-bought options, there’s something truly special about a pie made from scratch. The effort put into crafting a homemade apple pie pays off immensely, resulting in a flavor and texture that simply cannot be replicated by mass-produced alternatives. From the moment the sweet, cinnamon-laced apple aroma fills your kitchen to the first bite of that perfect flaky crust, you’ll understand why this dessert holds such a cherished place in culinary tradition. It’s not just a dessert; it’s an experience, a labor of love that creates lasting memories around the dinner table.
For me, pastries are a true weakness. I often find myself struggling to resist a second (or third!) slice of a perfectly baked pie. Luckily, on this particular occasion, I had a house full of eager teenagers who made quick work of this apple pie, saving me from the delightful dilemma of overindulgence. Their enthusiastic reviews were the ultimate testament to its deliciousness, proving that this recipe is a guaranteed hit for all ages.
Crafting the Perfect Flaky Pie Crust
The foundation of any great pie is its crust, and this recipe truly shines in that department. We utilize our bulk pie crust recipe, which is a game-changer for any avid baker. This recipe yields enough dough for six crusts, allowing you to prepare them in advance and store them in the freezer for future baking endeavors. Simply pull out two crusts the morning you plan to bake, and by afternoon, they’ll be thawed and perfectly pliable, ready to transform into a magnificent pie. The key to a truly flaky crust lies in using very cold butter and not overworking the dough. Those distinct layers and pockets of air are what give a homemade crust its signature tenderness and crunch.
If you don’t have time to make your own bulk pie crusts, a high-quality store-bought pie crust can also work in a pinch. However, for the ultimate experience, we highly recommend trying the homemade version. The difference in taste and texture is undeniable and will elevate your apple pie to new heights. Remember, patience is a virtue when handling pie dough; a gentle hand ensures a tender, melt-in-your-mouth result.
Choosing and Preparing Your Apples
While this recipe focuses on apples, it’s incredibly versatile. The choice of apple variety plays a significant role in the final flavor and texture of your pie. For this recipe, we recommend Granny Smith apples. Their tartness provides a wonderful contrast to the sweet filling, and their firm flesh holds up beautifully during baking, preventing a mushy pie. However, feel free to experiment with other apple varieties or a blend of apples for added complexity. Honeycrisp, Fuji, Gala, or Braeburn apples can also be excellent choices, offering varying degrees of sweetness and crispness. A mix of sweet and tart apples often creates the most balanced and interesting flavor profile.
Preparation is simple: core, peel, and slice your apples. Aim for slices of roughly equal thickness to ensure even cooking. This step is crucial for achieving that perfectly tender, not-too-firm, not-too-soft filling that defines a classic apple pie. If you’re opting for a different fruit, such as peaches or berries, remember to adjust the spices accordingly. While cinnamon is a perfect partner for apples and peaches, you might want to omit it for other fruits that pair better with nutmeg, ginger, or no spices at all.
Crafting the Perfect Apple Pie Filling
Once your apples are prepped, the filling comes together quickly. The blend of sugar, flour, and cinnamon creates a sweet, lightly spiced coating that clings to the apples and thickens into a delicious, bubbly sauce as the pie bakes. The flour acts as a thickener, ensuring your filling isn’t watery, while the sugar balances the tartness of the Granny Smith apples. A touch of butter dotted over the apples before adding the top crust adds richness and helps create that signature molten, flavorful filling.
Mixing the sugar, flour, and cinnamon thoroughly before sprinkling it over the apples ensures an even distribution of flavor. Gently tossing the apples to coat them is essential; you want every apple slice to be kissed by the sugary spice blend. This simple step ensures every bite of your pie is bursting with classic apple pie flavor.
Assembling and Baking Your Apple Pie
Assembling the pie is a straightforward process. Once your bottom crust is nestled securely in the pie pan, ensuring no air bubbles are trapped underneath, pile in your spiced apples. Don’t be afraid to mound them high; they will cook down considerably. Dotting the apples with small pieces of butter adds an extra layer of richness that permeates the filling during baking. Next, carefully drape the second crust over the apple mound, creating a beautiful domed top. Seal the edges of the top and bottom crusts together by crimping or fluting them. This not only makes for a pretty finish but also helps contain the delicious filling.
Before baking, make sure to cut several slits in the top crust. These vents are crucial for allowing steam to escape, preventing the crust from becoming soggy or bursting open. For a beautiful, golden-brown finish and a touch of extra sweetness, brush the top crust with an egg wash (one beaten egg mixed with a tablespoon of water) and sprinkle it with 1-2 tablespoons of sugar. This creates a lovely sheen and a slightly caramelized crunch on the crust.
Baking at a high temperature (425°F) initially helps to set the crust and get it nice and flaky. After about 15-20 minutes, you might want to reduce the oven temperature to prevent the crust from browning too quickly while the apples continue to cook through. Keep a close eye on the pie, especially the edges. If they start to brown too quickly, loosely cover them with strips of aluminum foil to protect them until the pie is fully baked. The pie is ready when the crust is deeply golden brown and the filling is visibly bubbling through the vents, indicating the apples are tender and the sauce has thickened.
Recipe

Apple Pie
Homemade apple pie in this flaky, buttery crust is sure to be a hit no matter what the season, but it’s an especially delicious way to welcome fall.
Mary Ann
Add to Shopping List
50 mins
40 mins
1 hr 30 mins
Dessert
American
8 slices
480
Ingredients
- 2 uncooked pie crusts
- 7 Granny Smith apples
- ¾ cup sugar, plus 1-2 Tbsp. more
- 2 Tbsp. flour
- ¾ tsp. cinnamon
- 4 Tbsp. butter
- 1 egg
- 1 Tbsp. water
Instructions
- Preheat oven to 425°.
- Prepare the pie crusts by rolling each one out between two pieces of parchment paper as follows. Place a piece of parchment paper on the counter and lightly sprinkle with flour. Put your pie crust dough in the center, and slightly sprinkle the top with flour. Cover with the second piece of parchment paper. Start rolling from the center, rolling in all directions until the dough is flattened. Periodically lift the top piece of parchment and replace it so that it doesn’t tear.
- Roll each crust into a circle large enough for your pie pan, making the bottom crust larger to cover the sides of the pie pan.
- Put the bottom crust in the pie pan and make sure there is no air between the crust and the pan.
- Combine ¾ cup sugar with the flour and cinnamon and mix well.
- Core, peel, and slice the apples and place in a large bowl.
- Sprinkle the apples with the sugar mixture and gently mix to cover all of the fruit.
- Place the apples in the bottom pie crust and dot with the butter.
- Cover with the second pie crust and seal the edges of the top and bottom crusts.
- Slit the top crust in several places with a knife to allow steam to escape.
- Beat the egg with 1 Tbsp. water to make a wash and use a pastry brush to brush the wash onto the top crust.
- Sprinkle top of pie with 1-2 Tbsp. sugar.
- Bake for approximately 40 minutes, or until the crust is brown and the filling is bubbly.
- If the edges of the crust start to brown too soon, cover them with strips of foil until the pie is finished baking.
Notes
You can use any fresh fruit in this recipe, just be sure to omit the cinnamon if you are not using apples, peaches, or another fruit that goes well with cinnamon.
Nutrition per serving
Carbohydrates: 68 g
Protein: 5 g
Fat: 22 g
Sodium: 357 mg
Fiber: 5 g
Sugar: 35 g
Net Carbohydrates: 63 g
Pin Recipe
Serving Suggestions for Your Apple Pie
Once your homemade apple pie emerges from the oven, golden brown and bubbling with sweet apple goodness, the hardest part is waiting for it to cool slightly before serving. While it’s tempting to dig in immediately, allowing it to rest lets the filling set, preventing it from being too runny. The classic accompaniment is, of course, a generous scoop of cold vanilla bean ice cream, which melts into the warm pie creating an exquisite contrast of temperatures and textures. Freshly whipped cream or a drizzle of warm caramel sauce also make fantastic additions. For a more traditional American twist, some people enjoy a slice of sharp cheddar cheese alongside their apple pie, a delightful combination that might surprise you!
Tips for Apple Pie Perfection
Achieving pie perfection is easier than you might think with a few simple tips. To prevent a soggy bottom crust, which is a common pie pitfall, make sure your pie pan is well-chilled before adding the dough. You can also lightly brush the bottom crust with a thin layer of egg white before adding the filling to create a barrier. Ensuring your oven is preheated to the correct temperature is vital for even baking and a crisp crust. If your pie crust edges are browning too quickly, use aluminum foil strips to cover them loosely, allowing the rest of the pie to catch up.
Storing leftover pie is simple. Cover it loosely with plastic wrap or foil and keep it at room temperature for up to two days, or refrigerate for up to four days. For longer storage, you can freeze individual slices or the entire baked pie. Wrap it tightly in plastic wrap and then in foil. When ready to enjoy, thaw in the refrigerator and reheat gently in the oven for that freshly baked taste.
Conclusion: The Timeless Joy of Homemade Apple Pie
There’s a reason homemade apple pie remains a quintessential dessert in homes across America and beyond. It’s a dish that embodies comfort, tradition, and pure deliciousness. This recipe, with its flaky, buttery crust and perfectly spiced apple filling, promises to deliver an unparalleled culinary experience. It’s a wonderful way to connect with the simple pleasures of baking and sharing good food with loved ones. So, gather your ingredients, roll up your sleeves, and get ready to bake a pie that will earn you rave reviews and create cherished memories. Enjoy every warm, fragrant, and utterly delightful bite!
Pin this recipe and share the homemade apple pie love:

