Homemade Flaky Butter Pie Crust: Your Ultimate Freezer-Friendly Bulk Recipe
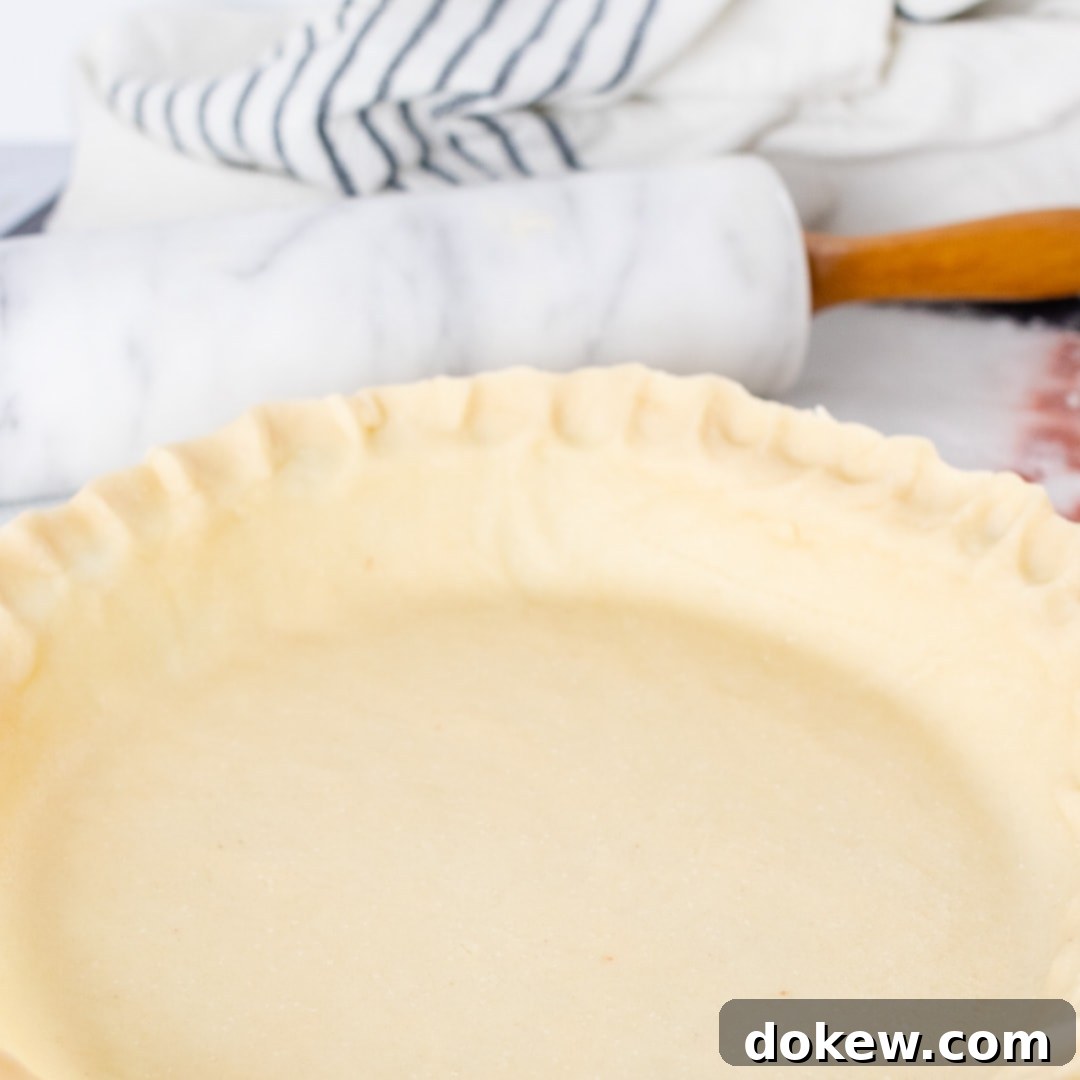
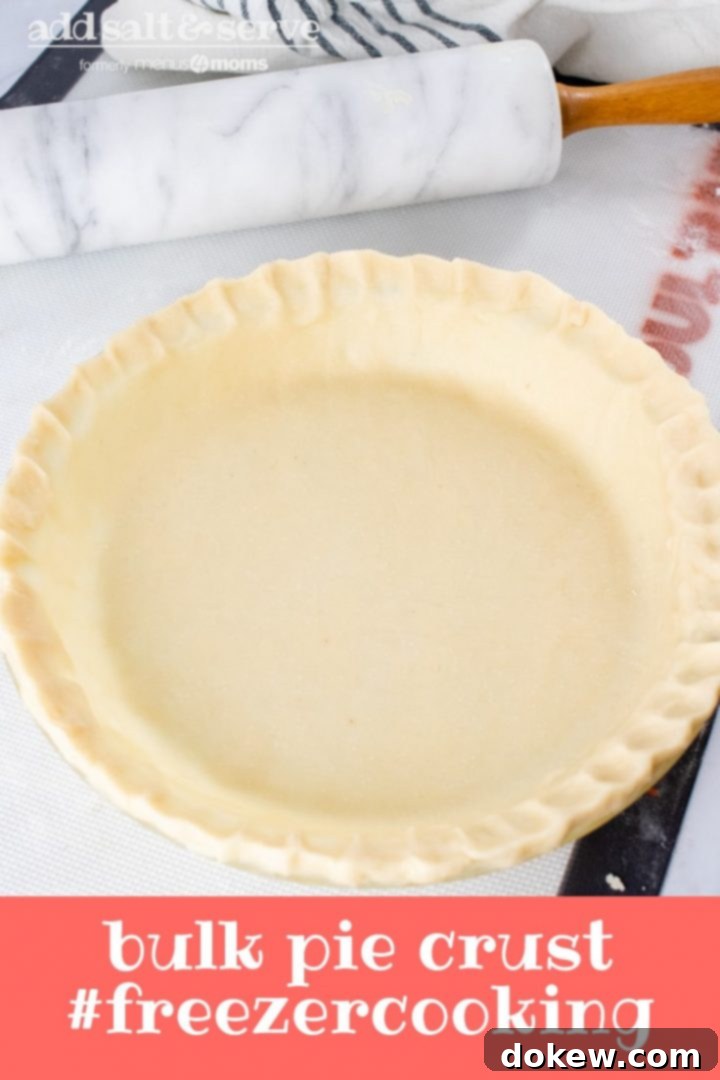
Imagine the delightful aroma of a freshly baked pie filling your kitchen, its golden-brown crust promising a perfect blend of crispiness and rich, buttery flavor. Now, imagine achieving this with minimal effort, thanks to a ready-to-go pie crust waiting patiently in your freezer. Our recipe for a flaky, buttery pie crust isn’t just a delicious foundation for sweet and savory pies; it’s also a game-changer for your meal prep routine. Crafted with only three simple ingredients plus water, this bulk pie crust recipe is entirely natural, free from the lard and artificial preservatives commonly found in store-bought options.
This adjustable recipe empowers you to make as little as one crust or as many as you need at a time. The instructions provided are tailored to yield enough dough for six pie crusts, perfect for freezing. This means you gain the unparalleled convenience of having prepared pie crusts on hand without the lengthy preparation time each time a craving or recipe strikes. Whether you’re making a quick quiche for brunch, a hearty pot pie for dinner, or a classic apple pie for dessert, having these homemade crusts ready will save you precious time and effort.
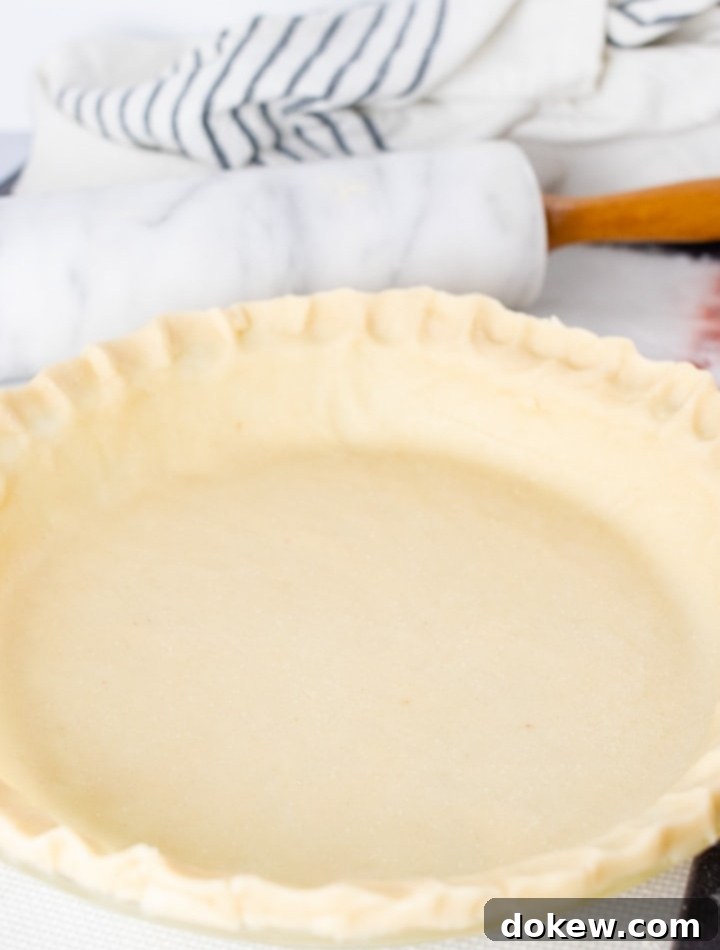
Ready to master the art of homemade pie crust and stock your freezer with this essential baking staple? Let’s dive into the details, including frequently asked questions, detailed instructions, and helpful tips for achieving pie perfection every time.
Frequently Asked Questions About Freezer-Friendly Pie Crust
Absolutely! Freezing pie crust dough is an excellent way to prepare ahead and reduce stress on busy baking days. You can easily freeze pie crust dough in a compact ball or already rolled out into flat circles. Freezing the dough rolled out saves you a step when you’re ready to bake, making preparation quicker. However, rolled crusts can be more fragile and require careful storage to prevent breakage. Storing them as discs generally takes up less freezer space and is often preferred for longer-term storage.
You might be surprised by how quickly you can prepare a batch of these freezer-friendly pie crusts. With this recipe, you can have enough dough for six individual pie crusts ready for the freezer in approximately 20 minutes of active prep time. This efficiency makes bulk baking a truly rewarding endeavor, ensuring you always have a homemade crust ready for any culinary adventure.
The beauty of this pie crust lies in its simplicity. You only need four basic ingredients: all-purpose flour, cold unsalted butter, salt, and ice-cold water. Here’s a quick overview of the process:
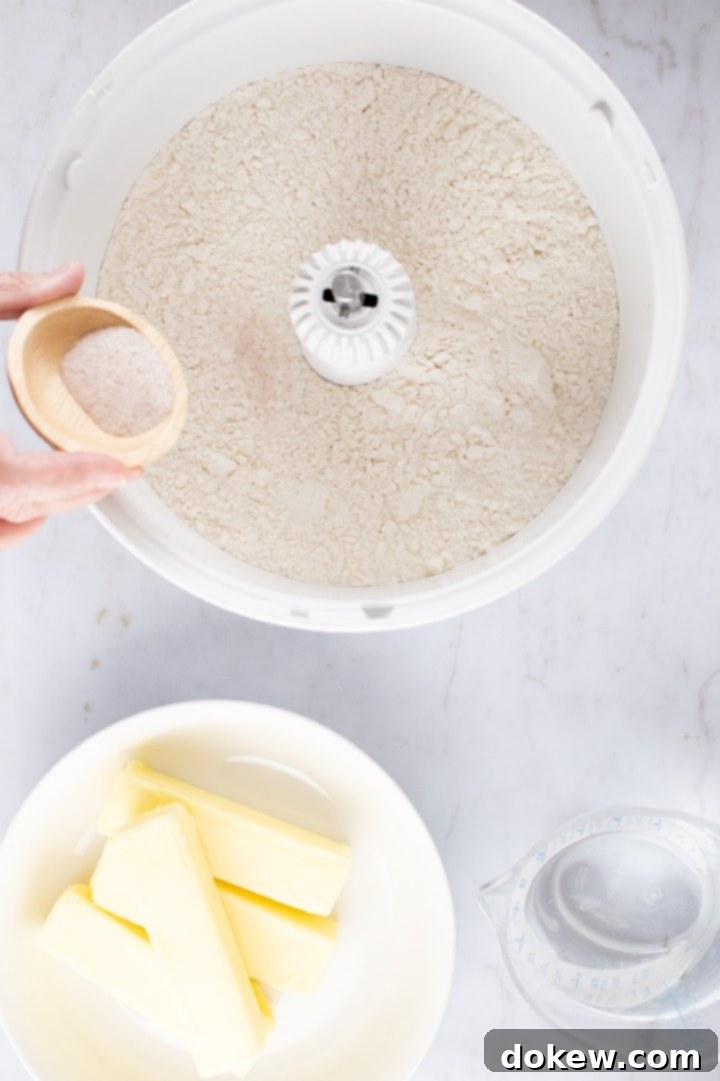
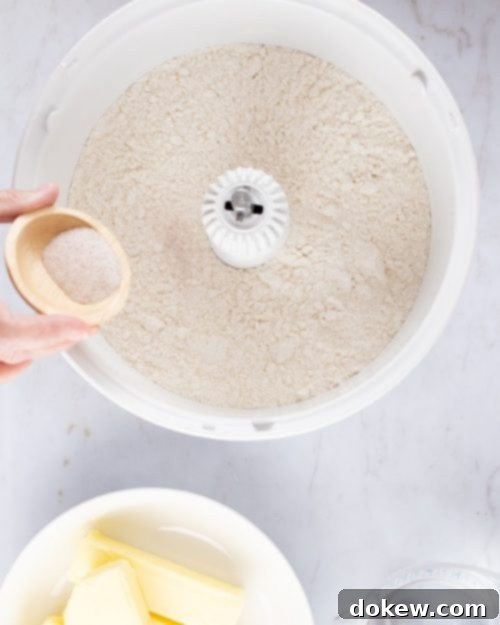
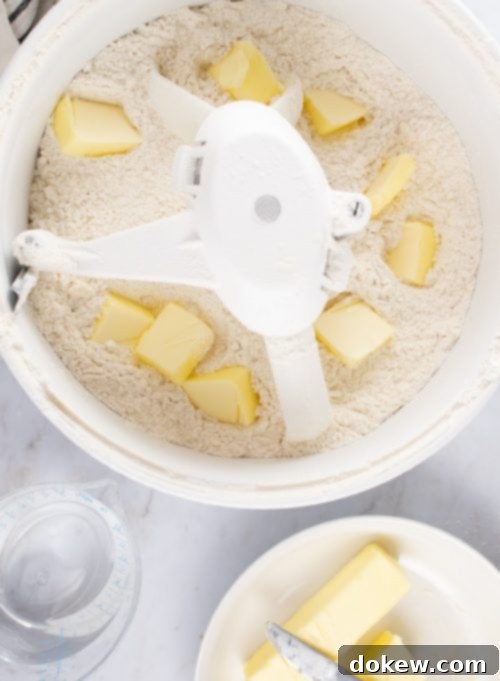
- Start by combining the flour and salt in a large mixing bowl or the bowl of a stand mixer.
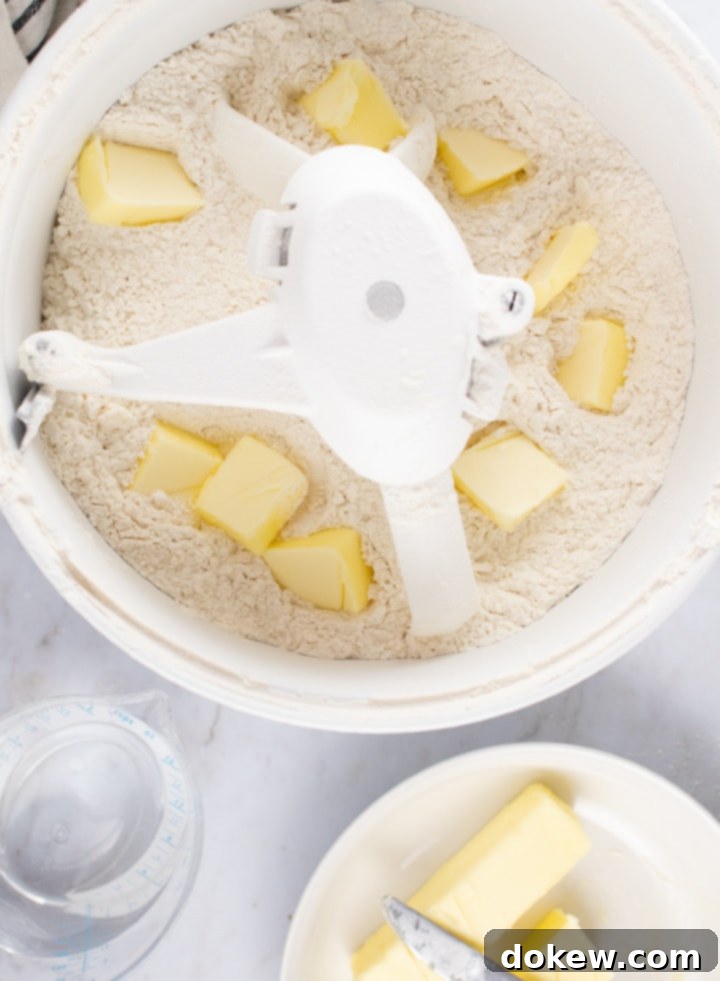
- Next, gradually cut in the very cold butter. Cold butter is crucial for a flaky crust, as it creates pockets of steam during baking. You can achieve this using a pastry cutter, two knives, a fork, or the pulse function on a stand mixer. Aim for a mixture that resembles coarse meal with some pea-sized chunks of butter still visible. These larger butter pieces are key to developing those desirable flaky layers.
-

-

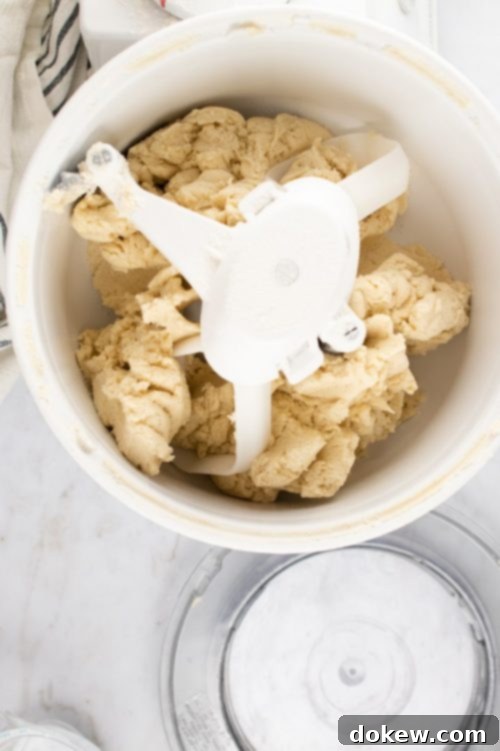
- Then, add the ice-cold water gradually, a tablespoon at a time, mixing just until the dough begins to come together. Be careful not to overmix, as this can develop the gluten too much, resulting in a tough crust. The dough might still look a bit shaggy and not perfectly smooth; this is exactly what you want for maximum flakiness. If the butter starts to melt and the dough becomes greasy due to warm hands or kitchen temperature, pop it into the refrigerator for about 30 minutes to firm up before continuing.
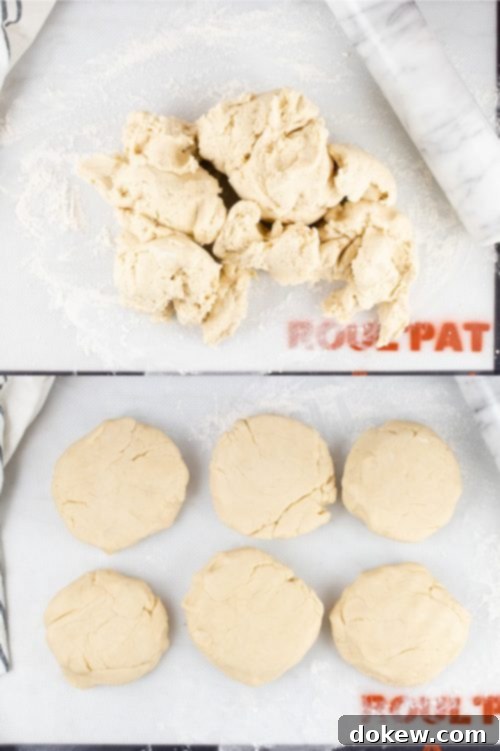
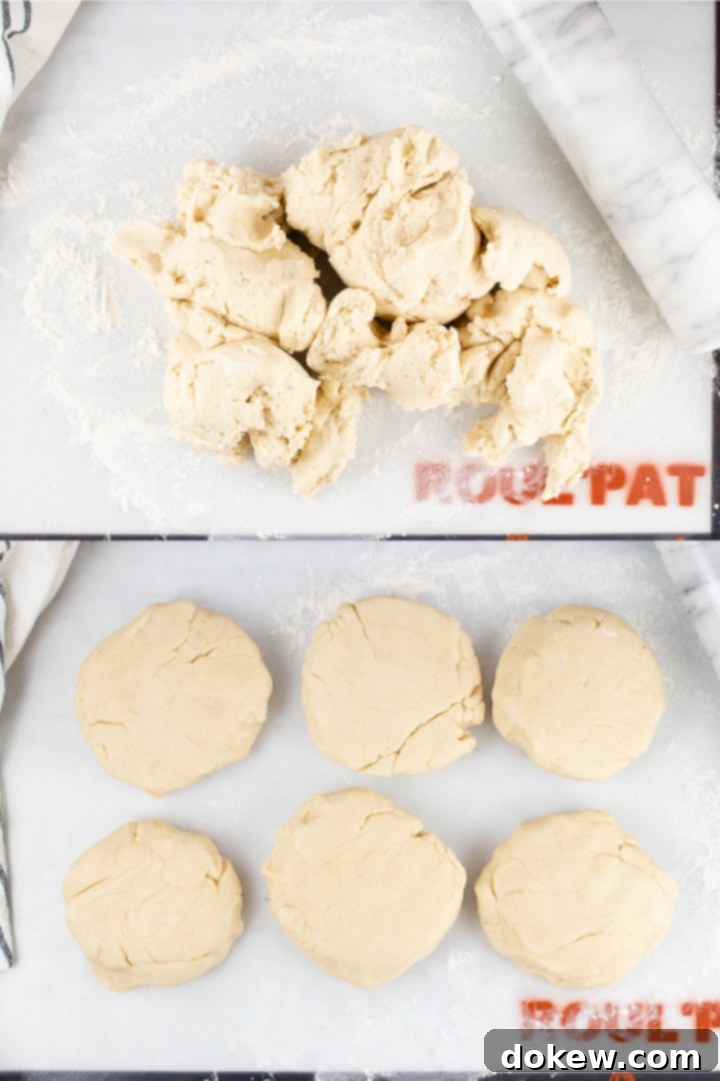
- Once the dough clumps together, turn it out onto a lightly flfloured surface. Gently divide the dough in half, and then each half into three equal sections, forming six thick, flattened discs.
Once you’ve prepared the dough and divided it into thick circles, you have a couple of excellent freezing options. You can either freeze the dough as discs, which is great for space-saving and flexibility, or roll it out into flat circles ready for a pie plate before freezing. While rolling it out pre-freezing saves a step later, I typically prefer freezing discs for easier storage and less risk of breakage.
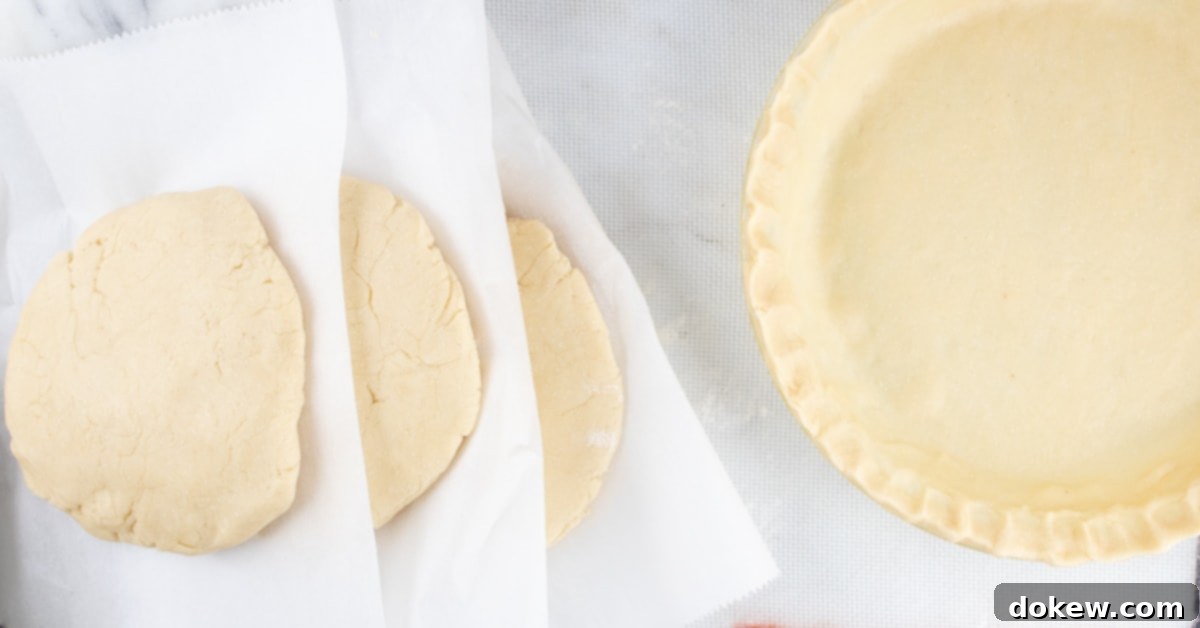
- For Freezing as Discs: Flatten each dough section into a disc, about 1-inch thick. Wrap each disc tightly in plastic wrap, then place them between sheets of parchment paper. Store the stacked, wrapped discs in a freezer-safe zip-top bag or an airtight container. The parchment paper ensures they won’t stick together, allowing you to easily grab one portion at a time. If you don’t have parchment paper, you can individually freeze each wrapped disc for an hour or two until solid before combining them in a single freezer bag or container. This prevents them from sticking together.
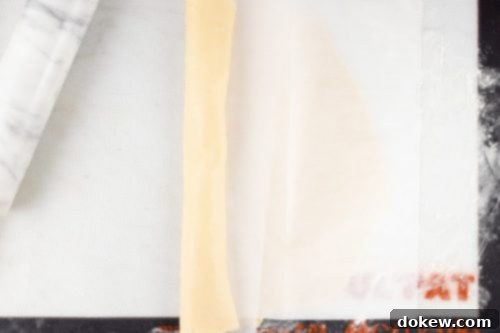
- For Freezing Rolled-Out Crusts: If you prefer to have your crusts pre-rolled, place each section of dough on a lightly floured sheet of parchment paper. Roll it out to your desired thickness and size, typically a 12-inch circle. Then, carefully roll up the parchment paper with the pie crust inside. Once rolled, place these parchment-wrapped crusts on a baking sheet or flat surface and freeze for a couple of hours until they are firm. After they are individually frozen, you can stack them or transfer them to a freezer-safe bag or wrap them securely in freezer paper for long-term storage.
For more advanced tips on achieving the perfect dough consistency, consider consulting resources from professional bakers, such as these excellent tips from Erin McDowell.
When properly wrapped and stored, your homemade pie crust dough can last impressively long in the freezer. A well-sealed pie crust can maintain optimal quality for 6 months or even longer. While the dough won’t necessarily “go bad” if frozen for an extended period beyond this, it may become susceptible to freezer burn, which can degrade its texture, make it less flaky, and potentially impart an off-taste. Always ensure your crusts are tightly wrapped to minimize air exposure.
Because the flakiness of pie crust relies heavily on the solid fats (butter in this recipe), proper thawing is key. The best method is to thaw your frozen pie crust dough overnight in the refrigerator. This slow thawing process helps the butter remain cold and firm, preserving the dough’s structure. If you’re short on time, you can thaw the crust on your kitchen counter at room temperature until it becomes pliable enough to roll or work with. However, it’s crucial never to defrost a frozen pie crust in the microwave, as the rapid heating will melt the butter unevenly, leading to a greasy, tough, and less flaky crust.
While margarine might seem like a suitable alternative, it is not recommended for this pie crust recipe. Margarine typically has a higher water content than butter, which can significantly alter the dough’s consistency and ultimately prevent you from achieving that coveted flaky texture that butter provides. For the best results and a truly superior pie crust, stick with high-quality cold butter.
Absolutely! This bulk pie crust recipe is perfect for double-crust pies. Simply use one portion of the dough for your bottom crust, fill it with your desired ingredients (such as fruit, meat, or vegetables), then top it with another rolled-out portion of dough. To ensure a beautiful, sealed pie, crimp the edges of the top crust to the bottom crust all the way around. Don’t forget to cut a few slits or decorative vents in the top crust with a fork or knife; these allow steam to escape during baking, preventing the crust from becoming soggy and ensuring even cooking.
Achieving a lovely golden sheen on your pie crust is simple with an egg wash. For a lighter golden color and subtle shine, separate the white from the yolk of one egg. Place the egg white in a small bowl with high sides. Add water a teaspoon at a time, whisking vigorously until the egg white is light enough to be easily spread with a pastry brush. Brush this mixture evenly over the top of your pie crust before baking. For a deeper, richer golden color and more pronounced shine, you can include the egg yolk in your wash, whisking it with a tablespoon of water or milk until well combined.
Recipe: Freezer-Friendly Bulk Pie Crust
Freezer-Friendly Bulk Pie Crust
Mary Ann
20 mins
8 mins
28 mins
Bulk Cooking, Dessert, Main Dish
American
6 crusts
997
Ingredients
- 6 cups all-purpose flour
- 1 pound cold salted butter, cut into ½-inch cubes
- 2 teaspoons fine sea salt
- 1¼ to 1½ cups ice-cold water
Instructions
-
In a large bowl, whisk together the 6 cups all-purpose flour and 2 teaspoons fine sea salt. Ensure the salt is evenly distributed throughout the flour mixture.

-
Add the cubed 1 pound cold salted butter to the flour mixture. If mixing by hand, use a pastry cutter, fork, or your fingertips to cut the butter into the flour. If using a stand mixer, use the paddle attachment and pulse repeatedly on low speed. Continue until the mixture resembles coarse crumbs, with some pieces of butter still visible, about the size of small peas or beans. It is crucial for some larger bits of butter to remain, as these will create steam and result in a flaky crust.

-
Gradually add the 1¼ to 1½ cups ice-cold water, one tablespoon at a time. Mix gently after each addition, just until the dough starts to come together and forms a shaggy ball. The amount of water needed can vary based on humidity and flour type, so add it cautiously.
-
If at any point during mixing, the dough becomes warm or greasy, immediately place it in the refrigerator for about 30 minutes to chill and firm up the butter before continuing to work with it.
-
Avoid overworking the dough. You only need enough water for the dough to hold its shape. The final product won’t be a perfectly smooth ball, but rather a slightly crumbly, cohesive mass. This minimal handling ensures a tender, flaky crust.

-
Turn the dough out onto a lightly floured surface. Gently gather it and divide it in half. Then, divide each half into three equal parts, resulting in six individual portions of dough. Gently form each portion into a slightly flattened, thick disc.

-
At this stage, you have two options for freezing: you can roll out each section into a circle ready for a pie plate before freezing, or you can freeze the dough as discs to be rolled out just before use. If you choose the extra step of rolling it out, place each dough section on a lightly floured piece of parchment paper. Roll it out to your desired size and thickness (e.g., a 12-inch circle), then carefully roll up the parchment paper with the pie crust inside.

-
If you are freezing the dough without rolling it first, ensure each section is formed into a slightly flattened disc. Wrap each disc tightly in plastic wrap, then stack them with a piece of parchment paper between each disc to prevent sticking. Place the stacked, wrapped discs in a freezer-safe zip-top bag or an airtight freezer container.

-
If you opted to roll out the pie crusts and roll them up in parchment paper, place these rolled crusts on a cookie sheet or other flat surface and freeze for a couple of hours until solid. Once individually frozen, you can carefully remove them from the baking sheet and combine them in a single freezer-safe container or wrap them securely with freezer paper before returning them to the freezer for long-term storage.
Notes
- This pie crust dough can be efficiently mixed either by hand, using a pastry blender or fork, or with a sturdy stand mixer fitted with a paddle attachment.
- The nutrition data provided is an estimate calculated per individual pie crust.
- For a slightly healthier and nuttier flavor profile, freshly ground whole wheat flour can be substituted for up to half of the white flour in this recipe at a one-to-one ratio. Adjust water as needed, as whole wheat flour may absorb more liquid.
- To blind bake an unfilled crust (for quiches or cream pies), preheat your oven to 475ºF (245ºC). Prick the bottom and sides of the crust with a fork, line with parchment paper, and fill with pie weights or dried beans. Bake for about 8 minutes, or until the edges are lightly golden. Remove weights and parchment and continue baking for another 2-3 minutes if a fully baked crust is desired. For filled pies, bake according to your specific recipe’s instructions.
- Always ensure butter and water are as cold as possible for the flakiest results.
Nutrition per serving
Serving: 1 pie crust
Calories: 997 kcal
Carbohydrates: 95 g
Protein: 13 g
Fat: 62 g
Sodium: 1179 mg
Fiber: 3 g
Pin this Recipe
📌 Pin This Recipe for Later!
Discover the Versatility: Recipes Featuring This Bulk Pie Crust
Once you have a stash of these wonderful homemade pie crusts in your freezer, a world of culinary possibilities opens up! They’re not just for traditional fruit pies. This versatile dough is perfect for both sweet and savory applications. Here are some fantastic recipes where your freezer-friendly pie crust will truly shine, making meal prep and entertaining a breeze:
- Easy Cheesy Zucchini QuicheA delightful and healthy option, this zucchini quiche is packed with fresh vegetables and creamy cheese, all encased in your homemade flaky crust. It’s a fantastic freezer meal, too!
- South of the Border QuicheSpice up your mealtime with this vibrant, savory quiche featuring bold “South of the Border” flavors. It’s a perfect make-ahead dish for a delicious and easy dinner.
- Double-Crust Chicken Pot PieIndulge in classic comfort food with this hearty chicken pot pie. The flaky, buttery double crust provides the perfect complement to a rich, savory filling brimming with chicken and vegetables.
- Easy Baked Beef Empanadas for the FreezerThese savory beef empanadas are deceptively easy to make, especially when using your pre-made pie crusts. They are fantastic for family dinners or as quick snacks from the freezer.
