The Ultimate Guide to Crafting the Perfect Seven-Layer Salad with Peas: A Potluck Favorite

Few salads capture the essence of effortless entertaining quite like the Seven-Layer Salad. A true American classic, this vibrant dish is renowned for its beautiful presentation, satisfying blend of textures, and the ultimate convenience of being prepared well in advance. Our delightful Seven-Layer Salad with Peas offers a refreshing twist on this beloved staple, making it an ideal choice for spring gatherings, summer barbecues, holiday meals, or any occasion where you want to impress without the last-minute kitchen rush.
The magic of a seven-layer salad lies in its distinct strata of fresh ingredients, each contributing its unique flavor and visual appeal. The layers remain separate and crisp until serving, ensuring every bite is a delightful fusion of textures and tastes. This make-ahead marvel is perfect for busy hosts, allowing you to focus on your guests and other event details, knowing a spectacular side dish is chilling perfectly in the refrigerator.
The Enduring Appeal of Layered Salads
Layered salads have been a fixture on potluck and picnic tables for decades, and for good reason. Their impressive appearance, with colorful ingredients neatly stacked in a clear glass bowl, makes them a showstopper. Beyond aesthetics, the layering technique serves a practical purpose: it keeps more delicate ingredients, like lettuce, from becoming soggy, and allows the flavors to meld subtly without becoming muddled. When it’s time to serve, a gentle toss brings all the components together, creating a harmonious and incredibly flavorful experience.
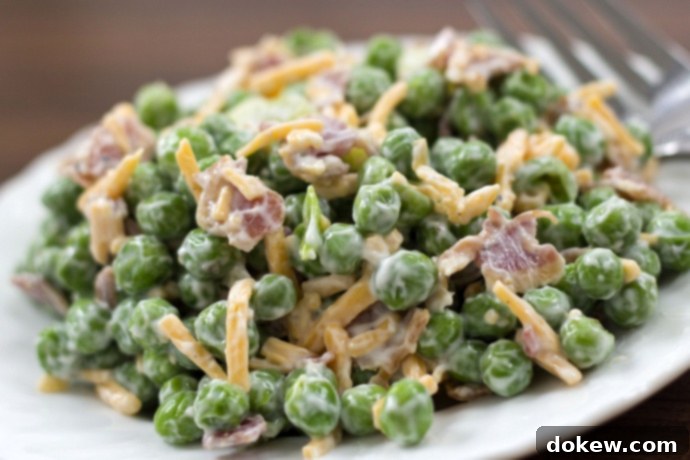
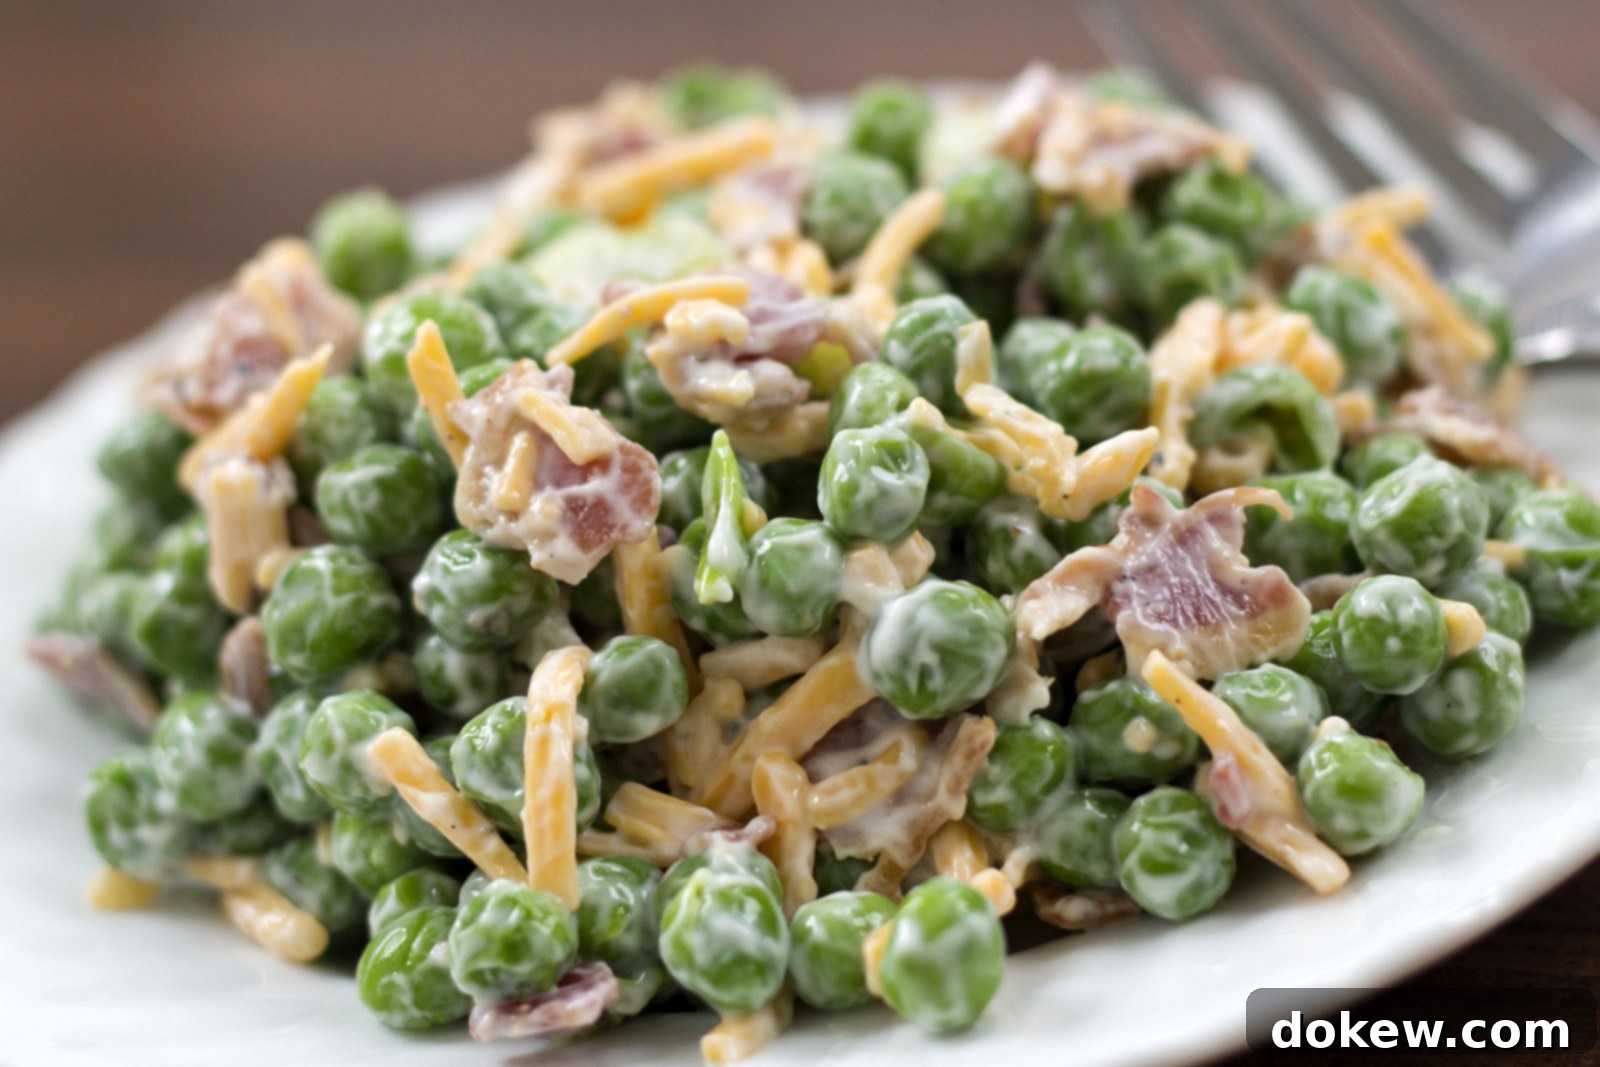
Our featured Seven-Layer Salad with Peas embraces this tradition, highlighting the sweet crunch of peas, the crisp bite of celery, and a creamy, tangy dressing, all crowned with savory bacon and sharp cheddar cheese. It’s a versatile recipe that can be adapted to suit various tastes and dietary preferences, making it a truly indispensable addition to your culinary repertoire.
Crafting Your Perfect Seven-Layer Salad with Peas: A Detailed Guide
While the concept of a seven-layer salad often implies a base of crisp lettuce, this specific recipe offers a more concentrated flavor profile where peas take center stage. The beauty is its simplicity, yet we can expand upon it to truly elevate the experience and ensure every layer contributes to a magnificent whole. Below, we’ll walk through the ingredients, preparation, and expert tips to ensure your salad is nothing short of perfection.
Essential Ingredients and Their Role:
- 1 (10 oz.) pkg. frozen peas, thawed: The star of our salad! Ensure your peas are fully thawed and well-drained. Frozen peas are perfect here, offering a consistent sweetness and tender texture. For an extra pop of freshness, you could briefly blanch fresh peas, then chill them.
- ¼ cup celery, finely diced: Celery provides that essential crunch and a subtle, refreshing peppery note that balances the sweetness of the peas and the richness of the dressing. Uniformly dicing ensures an even distribution throughout the salad.
- ¼ teaspoon salt & ⅛ teaspoon pepper: These fundamental seasonings enhance the natural flavors of the vegetables and dressing, ensuring a well-rounded taste. Adjust to your preference.
- ⅛ teaspoon dried basil: Basil adds an aromatic, slightly sweet, and savory herbaceous quality that complements the other ingredients beautifully, elevating the simple dressing into something special.
- ⅓ cup sour cream: The creamy foundation of our dressing. Sour cream provides a delightful tang and richness that binds the flavors together. For a lighter alternative, Greek yogurt can be substituted, or a blend of both.
- 1 teaspoon sugar: A small amount of sugar works wonders in balancing the tartness of the sour cream and enhancing the natural sweetness of the peas, creating a perfectly harmonious dressing.
- ¾ cup cheddar cheese, shredded: Sharp or medium cheddar cheese adds a robust, salty, and nutty flavor, along with a wonderful texture contrast. Freshly shredded cheese melts better in your mouth and has superior flavor compared to pre-shredded varieties.
- 6 slices bacon**, cooked and crumbled (or ½ cup real bacon bits): Crispy, salty bacon is the quintessential topping for many layered salads. Its smoky flavor and irresistible crunch provide a fantastic finish. If using slab bacon, cook it until very crisp, drain excess fat, and crumble finely. Real bacon bits are a convenient alternative.
Step-by-Step Assembly for Optimal Flavor and Presentation:
The key to a truly outstanding layered salad is not just the ingredients, but also the order and care taken during assembly. For best visual effect, use a clear glass bowl or trifle dish.
- Prepare Your Ingredients: Begin by ensuring all your ingredients are ready. Thaw the frozen peas and drain them thoroughly. Dice your celery finely. Cook the bacon until crisp, then crumble it into small pieces (reserve a small amount for garnish if desired). Shred your cheddar cheese.
- Craft the Creamy Dressing: In a small bowl, combine the sour cream, sugar, salt, pepper, and dried basil. Whisk until smooth and well combined. Taste and adjust seasonings if necessary. This dressing is the unifying element that brings all the layers together.
- Begin Layering:
- Layer 1: Peas. Spread the thawed and drained peas evenly across the bottom of your chosen serving bowl. This forms a vibrant green base.
- Layer 2: Celery. Sprinkle the finely diced celery over the layer of peas. This adds a nice crunch and another fresh element.
- Layer 3: The Dressing. Carefully spread the prepared sour cream dressing over the celery layer. The goal is to create an even blanket that seals in the flavors and protects the vegetables below. Use the back of a spoon or a spatula to gently spread it all the way to the edges.
- Layer 4: Cheddar Cheese. Generously sprinkle the shredded cheddar cheese over the dressing layer. This creates a beautiful golden topping that adds richness and a savory kick.
- Layer 5 (Optional but Recommended for a “Classic” 7-Layer Feel): If you desire a more traditional seven-layer salad, this is where you might add additional vegetable layers not explicitly in the original short recipe, such as a base of crisp shredded lettuce (iceberg or romaine) *before* the peas, or a layer of thinly sliced red onion or chopped hard-boiled eggs *after* the celery and before the dressing. For *this specific recipe’s core layers*, the four above are the main components before the final topping.
- Chill for Perfection: Cover the bowl tightly with plastic wrap and refrigerate for at least 4 hours, or preferably overnight. This crucial chilling period allows the flavors to meld beautifully and ensures the salad is wonderfully crisp and cold when served. The dressing also thickens slightly, creating a better seal for the layers below.
- The Grand Finale (Just Before Serving): Right before you are ready to serve, uncover the salad and sprinkle the crumbled bacon over the top. This ensures the bacon remains crispy and flavorful.
- Mix and Serve: Use a large serving spoon to gently mix the salad just before portioning it out. This brings all the delicious layers and dressing together, ensuring every serving has a bit of everything.
Tips for a Flawless Seven-Layer Salad
- The Right Bowl Matters: A clear glass bowl or trifle dish is essential for showcasing the beautiful layers. A bowl with straight sides works best for distinct layers.
- Drain Well: Especially with thawed peas, ensure they are thoroughly drained to prevent a watery salad. Pat them dry with paper towels if necessary.
- Even Spreading: When applying the dressing, spread it carefully to cover the entire surface of the layer below. This acts as a protective seal.
- Don’t Rush the Chill: The chilling time is not just for cooling; it’s vital for flavor development and allowing the dressing to permeate slightly without making the vegetables soggy.
- Bacon Last: Always add the bacon just before serving to preserve its crispness. If added too early, it can become chewy.
- Presentation is Key: Even when mixed, a colorful, freshly prepared layered salad always looks inviting.
Customizing Your Seven-Layer Salad: Beyond the Basics
One of the greatest joys of the seven-layer salad is its adaptability. While our peas-focused recipe is fantastic on its own, here are ideas to customize it and add even more layers for a truly personalized dish:
Adding More Layers for Variety:
- Lettuce Base: For a more substantial salad, start with a layer of finely shredded iceberg or romaine lettuce at the very bottom. This is the traditional first layer in many seven-layer salads.
- Onions: A thin layer of finely chopped red onion or sliced green onions can add a pungent kick that many love. Place these after the celery.
- Hard-Boiled Eggs: Sliced or chopped hard-boiled eggs make an excellent protein-rich layer, often placed after the vegetable layers and before the dressing.
- Tomatoes: Diced ripe tomatoes (seeded to remove excess moisture) can add a juicy, acidic counterpoint. Add them as a middle layer.
- Bell Peppers: Finely diced red, yellow, or orange bell peppers contribute vibrant color and a sweet crunch.
- Cucumber: Diced cucumber adds another layer of refreshing crispness.
Dressing and Cheese Alternatives:
- Dressing Variations: Experiment with a blend of sour cream and mayonnaise for a richer dressing, or use Greek yogurt for a lighter, tangier profile. A touch of white wine vinegar or apple cider vinegar can also brighten the flavors.
- Cheese Choices: Monterey Jack, Colby, Swiss, or a sharp provolone can all be delicious alternatives or additions to the cheddar.
Protein Boosts and Vegetarian Adaptations:
- Extra Protein: Diced cooked chicken, turkey, or ham can be added as an additional layer for a heartier meal.
- Vegetarian/Vegan: For a vegetarian version, omit the bacon or use plant-based bacon bits. For a vegan salad, substitute sour cream with a dairy-free alternative and use nutritional yeast for a cheesy flavor instead of cheddar.
Perfect Pairings: What to Serve with Your Seven-Layer Salad
This versatile salad pairs beautifully with a wide array of main courses. Its refreshing and satisfying nature makes it an excellent accompaniment to:
- Grilled Meats: Barbecued chicken, grilled steak, or pork chops.
- Sandwiches and Burgers: A lighter, fresher side than fries or chips.
- Roasts: A vibrant contrast to a rich roasted chicken or beef.
- Holiday Feasts: Its make-ahead convenience makes it ideal for Thanksgiving, Easter, or Christmas.
- Potlucks and Picnics: It travels well and always gets rave reviews.
Storage and Leftovers
If you have any leftovers, cover the bowl tightly and refrigerate. The salad will remain fresh for 2-3 days. While it’s best when the bacon is added fresh, the mixed salad still tastes great the next day, though the bacon may lose some of its crispness. The beauty of this salad is its resilience in the refrigerator, truly making it a dish that improves with a little time.
This pretty seven-layer salad with peas is a deliciously different salad to serve with a spring meal. Since it is made in advance, it is a good choice for when you have company over or have lots of other last minute details to attend to.
Seven Layer Salad With Peas
- 1 (10 oz.) pkg. frozen peas, thawed
- ¼ cup celery
- ¼ teaspoons salt
- ⅛ teaspoons pepper
- ⅛ teaspoons dried basil
- ⅓ cup sour cream
- 1 teaspoon sugar
- ¾ cup cheddar cheese
- 6 slices bacon**, cooked and crumbled (or ½ cup real bacon bits)
Layer all ingredients except bacon into large bowl. Let chill for 4 hours or overnight. Before serving, top with bacon bits and mix.
