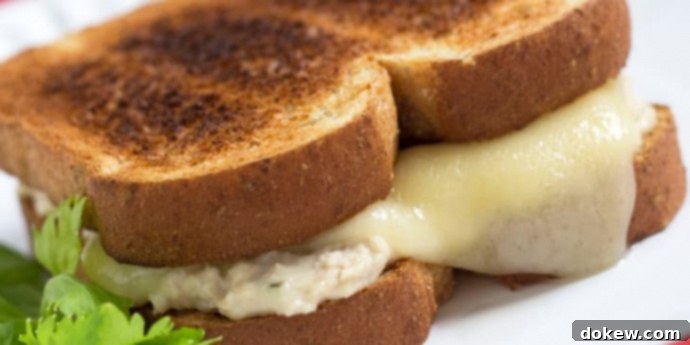
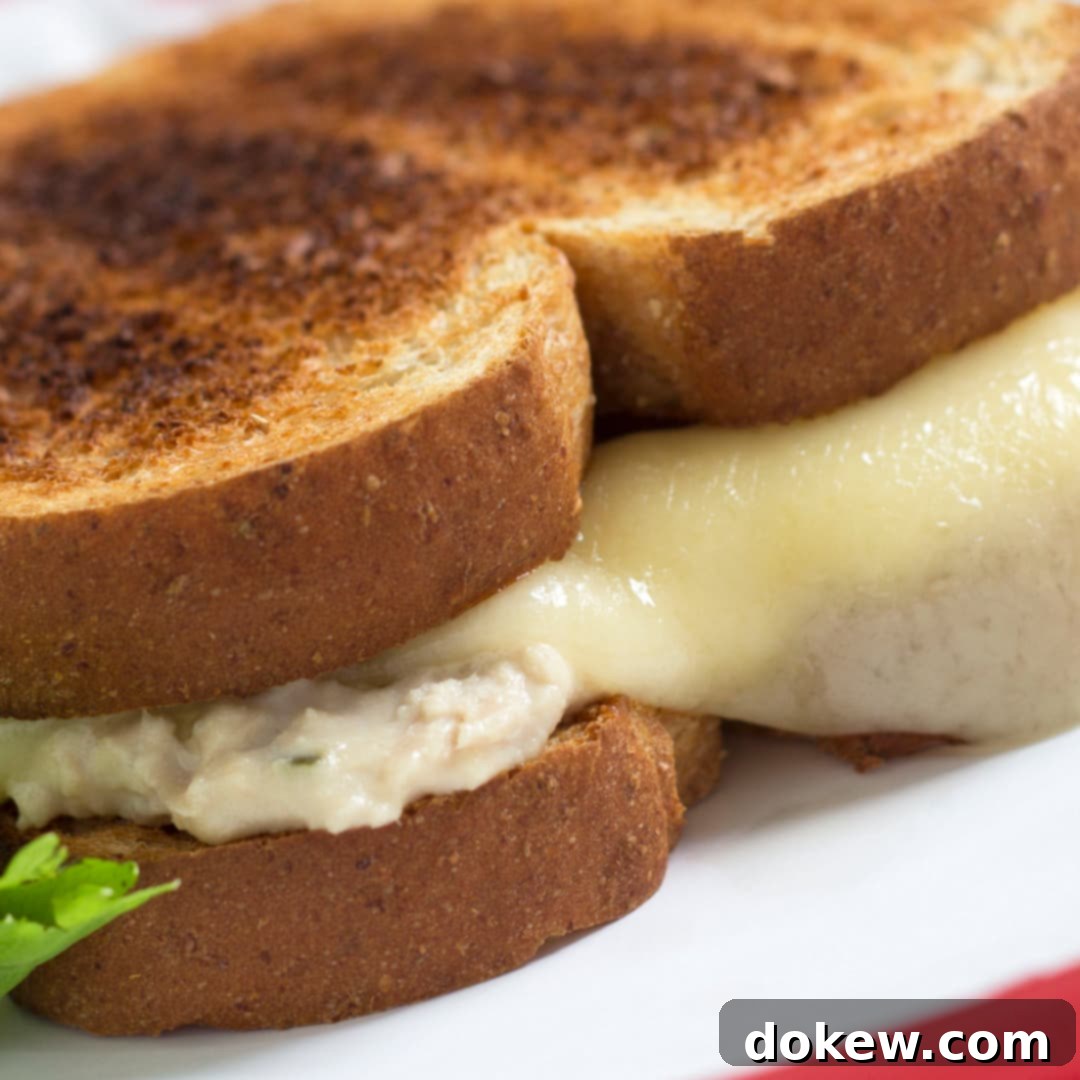
Ultimate Quick & Easy Tuna Cheese Melts: Your Go-To Weeknight Comfort Food
There are evenings when cooking an elaborate meal just isn’t an option. You need something fast, fulfilling, and undeniably delicious. That’s where these incredible tuna cheese melts come into play. They are the quintessential comfort food, perfect for those busy weeknights when you crave a warm, cheesy, and satisfying dinner without the fuss. The best part? If you have a trusty toaster oven, you can skip turning on your main oven entirely, making cleanup and preparation even simpler. This recipe transforms humble pantry staples into a meal that feels like a warm hug.

Why Tuna Melts Deserve a Spot in Your Dinner Rotation
Tuna melts have stood the test of time as a beloved classic, and for good reason. They offer a fantastic combination of convenience, affordability, and customizable flavor. For families, they’re often a kid-friendly option that even picky eaters can appreciate, especially when served with a side of their favorite soup or potato chips. Beyond their ease, tuna melts provide a good source of protein from the tuna, making them a hearty choice that keeps you feeling full.
What makes this specific tuna cheese melt recipe a standout is its streamlined approach. With just a handful of ingredients and minimal cooking time, you can have a piping hot, perfectly melted sandwich on your plate in under 10 minutes. This recipe is not just about speed; it’s about maximizing flavor with simple components that complement each other beautifully. The creamy tuna salad, combined with the sharp, nutty notes of Swiss cheese and crispy toasted bread, creates a symphony of textures and tastes.
Recipe: Classic Tuna Cheese Melts

Tuna Cheese Melts
Add to Shopping ListGo to Shopping List
Ingredients
- 10 oz canned white tuna, chunked and drained
- 1 tablespoon onions, chopped
- ½ cup mayonnaise
- 1 ½ tablespoon pickle relish
- 8 slices whole grain bread, toasted
- 4 slices Swiss cheese
Instructions
-
Preheat broiler. Toast bread; set aside. This ensures a perfectly crisp base for your melt.
-
In a medium bowl, combine the drained, chunked tuna, creamy mayonnaise, finely chopped onion, and tangy pickle relish. Mix these ingredients thoroughly until everything is well incorporated and the tuna salad has a smooth consistency. Spread the delicious tuna mixture evenly over 4 of the toasted bread slices.
-
Carefully place a slice of Swiss cheese over each portion of tuna mixture. Transfer these open-faced sandwiches to a baking sheet and lightly broil them until the cheese is beautifully melted and bubbly, typically about 2 minutes. Watch closely to prevent burning. Once the cheese is perfectly melted, top with the remaining toasted bread slices to create a sandwich, and serve immediately for the best experience.
Notes
Nutrition per serving
Share
Pin
Exploring the Ingredients: Tips for the Perfect Tuna Melt
While the recipe calls for simple ingredients, understanding each component can elevate your tuna melt from good to extraordinary. Let’s delve into what makes this quick dinner so satisfying.
Tuna: The Heart of the Melt
The type of canned tuna you choose significantly impacts the flavor and texture. This recipe specifies canned white tuna, chunked and drained. White tuna, often albacore, has a milder flavor and firmer texture compared to light tuna (typically skipjack or yellowfin). Chunk tuna offers a satisfying bite, but flaked tuna can also be used if you prefer a smoother tuna salad. Draining the tuna thoroughly is crucial to prevent a watery sandwich and ensure the mayonnaise adheres well, creating a rich, creamy mixture. For health-conscious cooks, choosing tuna packed in water (as reflected in the nutrition facts) is a great way to reduce fat and calories compared to oil-packed tuna, while still benefiting from omega-3 fatty acids.
The Cheesy Goodness: Swiss Cheese
Swiss cheese is the star of this melt, known for its distinctive nutty flavor and excellent melting properties. Its holes, or “eyes,” are a result of the fermentation process and contribute to its unique texture. When broiled, Swiss cheese becomes beautifully gooey and slightly browned at the edges, adding a delightful depth of flavor. However, feel free to experiment with other cheeses if Swiss isn’t your preference:
- **Cheddar:** For a sharper, more classic American flavor.
- **Provolone:** Offers a mild, creamy melt.
- **Monterey Jack:** A very mild and easy-melting option.
- **Havarti:** Known for its buttery flavor and smooth melt.
The key is to use a cheese that melts well and complements the savory tuna salad.
The Binder: Mayonnaise
Mayonnaise is essential for binding the tuna and other ingredients into a cohesive, creamy salad. It adds richness and moisture, preventing the sandwich from being dry. While ½ cup is specified, you can adjust this amount to your personal preference for creaminess. For a lighter option, consider using a light mayonnaise or even Greek yogurt as a partial substitute to reduce calories and fat while adding a slight tang.
Flavor Boosters: Onions and Pickle Relish
The addition of chopped onions and pickle relish is what truly defines a classic tuna salad.
- **Onions:** Just one tablespoon of finely chopped onion adds a pungent kick and a touch of freshness that cuts through the richness of the tuna and mayo. Red onion or green onion can also be used for a slightly different flavor profile.
- **Pickle Relish:** The 1 ½ tablespoons of pickle relish contribute a delightful tanginess and a hint of sweetness, balancing the savory notes of the tuna. Sweet relish is traditional, but dill relish can be used for a more savory and less sweet flavor.
Don’t be afraid to enhance this mixture further. A pinch of black pepper, a dash of celery salt, or even a squeeze of fresh lemon juice can elevate the tuna salad even more.
The Foundation: Whole Grain Bread
Eight slices of whole grain bread, toasted, form the perfect base for these melts. Toasting the bread before adding the tuna mixture and cheese is crucial. It prevents the sandwich from becoming soggy and provides a satisfying crunch that contrasts beautifully with the soft tuna and melted cheese. Whole grain bread not only adds a hearty texture but also provides additional fiber and nutrients. White bread or sourdough can also be used if preferred, but ensure they are toasted to a golden crispness.
Achieving the Perfect Melt: Broiler vs. Toaster Oven
The beauty of this recipe lies in its adaptability to different kitchen appliances. While the instructions call for a broiler, a toaster oven is an equally effective and often more convenient alternative.
- Using a Broiler: Preheat your broiler and keep a close eye on the sandwiches. Broilers can heat very intensely and quickly, so 2 minutes is typically enough to achieve a bubbly, golden cheese layer. Place the sandwiches on a baking sheet on a rack positioned a few inches from the heat source.
- Using a Toaster Oven: A toaster oven offers similar results with excellent control. Set your toaster oven to the “broil” setting or a high temperature (around 400°F / 200°C) and monitor closely. This method is fantastic for making just one or two melts, saving energy and preheat time.
The goal is to get the cheese perfectly melted and slightly browned without burning the bread or the tuna mixture. Always stay near your oven or toaster oven when broiling, as things can go from perfectly golden to burnt in a matter of seconds!
Serving Suggestions and Creative Variations
Tuna cheese melts are wonderfully versatile. Serve them simply as they are for a quick lunch or dinner, or pair them with classic sides to complete the meal:
- Tomato Soup: A timeless pairing, perfect for dipping.
- Green Salad: A fresh side to balance the richness.
- Potato Chips or French Fries: For that classic diner experience.
- Pickle Spears: A crunchy, tangy complement.
Customizing Your Tuna Melt
Don’t hesitate to get creative with this easy recipe. Here are a few ideas to customize your tuna melts:
- Spicy Kick: Add a pinch of red pepper flakes, a dash of hot sauce to the tuna mixture, or a slice of jalapeño before melting the cheese.
- Mediterranean Twist: Mix in chopped black olives, capers, or sun-dried tomatoes with the tuna. Feta cheese could replace Swiss for a different flavor profile.
- Herbaceous Freshness: Stir in fresh dill, parsley, or chives into the tuna salad for an extra burst of flavor.
- Vegetable Boost: Finely diced celery, bell peppers, or even shredded carrots can add crunch and nutrition to your tuna mixture.
- Open-Faced vs. Closed: While this recipe makes traditional closed sandwiches, serving them open-faced (as they are when broiling) is also a popular and equally delicious option.
Storage and Reheating Tips
Tuna melts are best enjoyed fresh off the broiler when the bread is crisp and the cheese is perfectly melted. However, if you happen to have leftovers (which is rare!), you can store the tuna salad mixture separately in an airtight container in the refrigerator for up to 2-3 days. When ready to enjoy, toast fresh bread, assemble, and melt as per the instructions. Reheating an already assembled tuna melt can sometimes lead to soggy bread, so fresh assembly is always recommended for the best taste and texture.
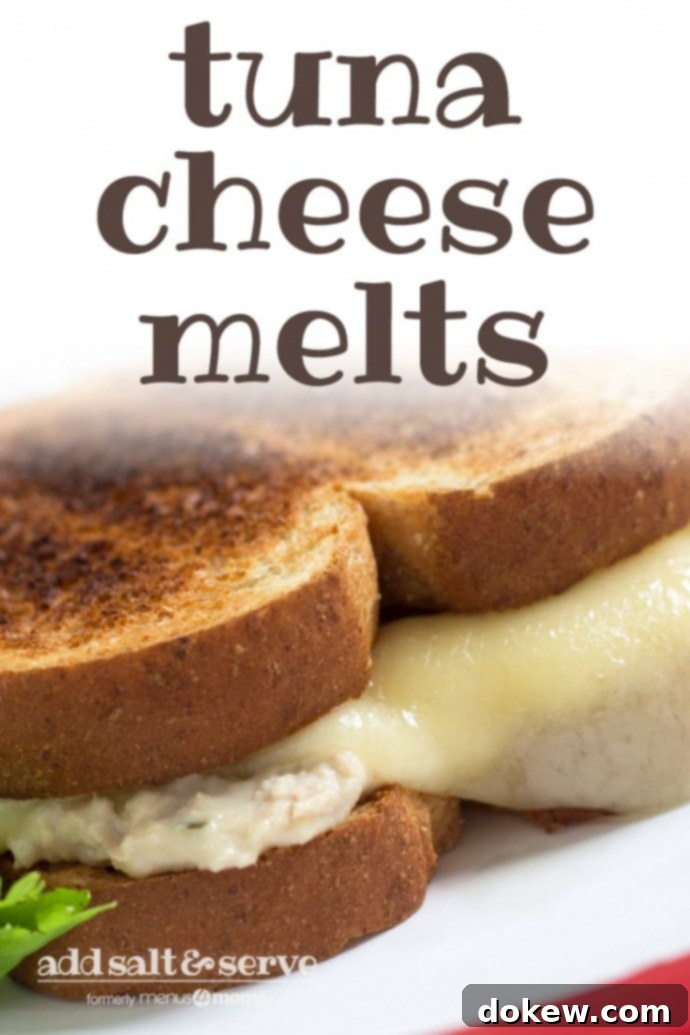
Pin this recipe:

A Quick and Satisfying Meal for Any Occasion
Whether you’re looking for a nostalgic lunch, a budget-friendly dinner, or simply a delicious way to use canned tuna, these quick and easy tuna cheese melts are an unbeatable choice. Their simplicity, combined with their comforting warmth and satisfying flavors, makes them a recipe you’ll return to again and again. Give them a try tonight and discover your new favorite fast meal!
